Program Design 1-3 Hacks
Hacks for Program Design AP Classroom (Week 6)
Hacks
Notes
Video 1
- A program starts with an idea
- Programs are developed with a specific purpose in mind
- Developers follow specific steps and follow a plan
- Exploration is a crucial part of development
- Developing a program
- investigate a problem/purpose and reflect
- Determine the requirements of the program
- Understand constraints (features, time, etc…)
- Understand user concerns and interests
- Ways of investigating include:
- surveys
- user testing
- interviews
- direct observations
- Design the program
- brainstorm (think about how the investigation went)
- storyboard the program
- plan the user experience
- lay out the UI
- organizing into modules
- develop a testing strategy
- Decide on program requirements
- Describe how the program should behave
- Include a list of user interactions
- Program specifications will outline all requirements
- Developers create a prototype of the program or program components
- An incremental process is used so developers can refine small parts (modules) of the program
- LOTS OF TESTING
- occurs at the:
- micro level (individual components)
- macro level (entire program)
- occurs at the:
- Developers refine and and revise through testing, feedback, and reflection
- investigate a problem/purpose and reflect
Video 2
- Acknowledge code segments used from other sources
- Should include origin and author name
- Programs are usually developed in teams
- individuals/teams work on different functional components
- Each member of the project deserves to receive credit for their work
- Their names must be written in the documentation of the program indicating their contributions
- You can use comments in the programming to give credit
- If there’s a bug or error in the program, then comments can help identify who is responsible
- This may be useful after a program is completed and users can find any additional bugs
- Many times, developers use code segments, procedures, algorithms, and more that are written by others
- similar to quoting someone in a paper
- Any code segments, procedures, algorithms, etc… are considered the intellectual property of the author
- May resemble a works cited page
Video 3
- Program documentation
- A written description of the function of a code segment, event, procedure, or program, and how it was developed
- Comments can be made in a programming language as a form of documentation (will not affect how program runs)
- Not all programming environments support comments, so other methods of documentation may be required k
- Programmers should document a program throughout its development
- Helps in developing and maintaining correct programs
- Step 1: create a program documentation
- describe overall program
- list program specs
- function/procedures/methods within the code
- Specific code segments
- list events and corresponding outputs
- describe development of the program
- how other programs may interact with the program
- list contributors/authors of the program
- In the beginning:
- List specifications
- During Development:
- Keep track of progress
- At the end:
- Explain the overall process
- Documenting throughout the programming can improve:
- efficiency
- ability to test and refine the program
- programmers’ response to bugs (tracking down errors)
- Comments:
- allow programmers to write text within the program
- Don’t affect the program
- are for programmers to read, not the computer
- are useful when programmers collaborate or work individually
- In Python:
- (#) syntax
- Java:
- (//) syntax for single line comments
- (/* , */) Multiple line comments
- (/** , */) Documentation comments
- Similar to Javascript, C, C++, Swift
- XML/HTML
- () syntax for single or multi line comments
- Applescript/Pascal
- ((* , *)) syntax
- Block based languages
- Scratch
- MIT AppInventor
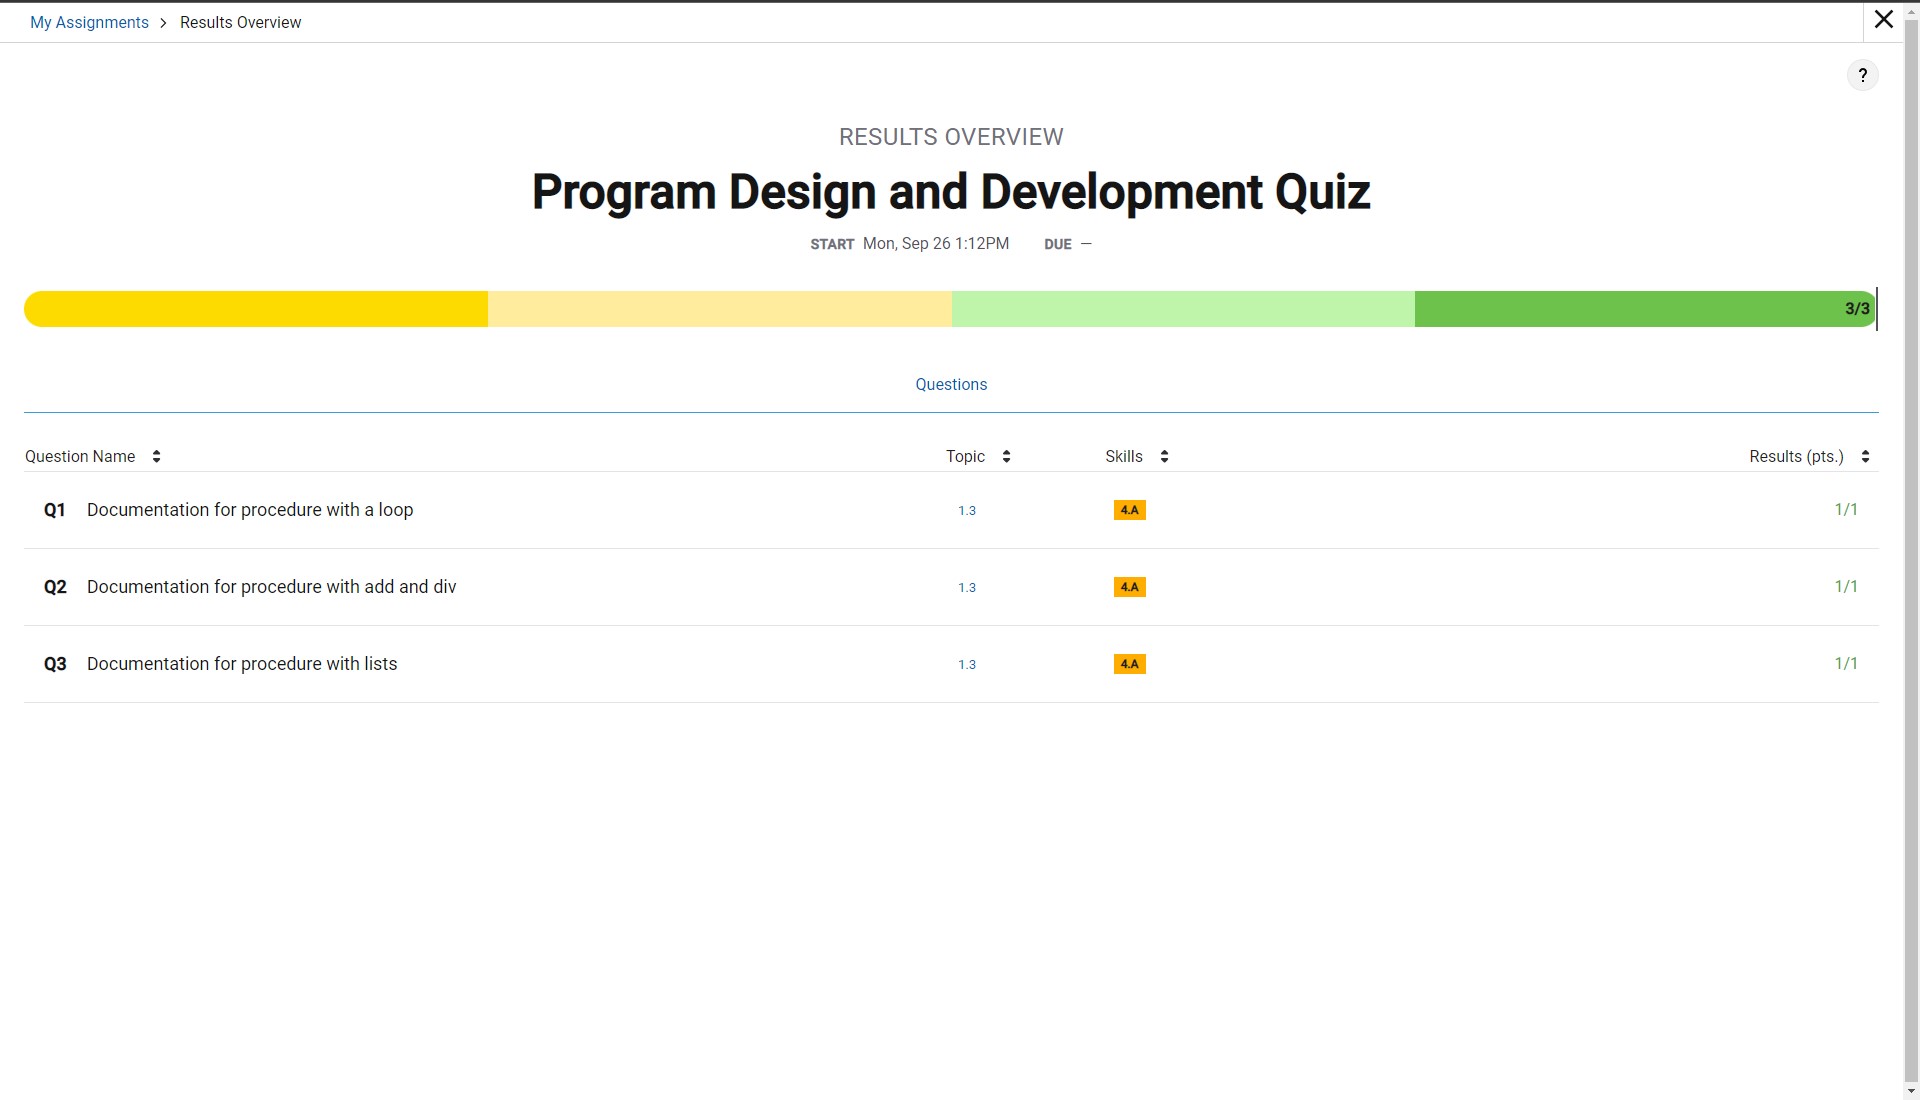
Proof of MCQ

Other Hacks
- Home Screen
- 3 buttons
- 2 primary
- “Create set”
- “My Sets”
- 1 secondary
- “Settings” in the top left
- 2 primary
- Big text at the center top of the screen displaying the name of the site
- 3 buttons
- Set Screen
- Back arrow in the top left
- Displays site title in the top left (to the right of the back arrow)
- Displays Created Subjects in the middle
- Each Subject leads to an individual subject page
- Gives an option to create a subject at the bottom
- Gives an option to create cards on the top right
- Subject Screen
- Same layout as Set Screen except instead of subjects, it displays Areas
- Each Area leads to an individual Area page
- Gives an option to create general notes
- Same layout as Set Screen except instead of subjects, it displays Areas
- Area Screen
- Same layout as Set Screen except instead of subjects, it displays Topics
- Each Topic leads to an individual Topic page
- Gives an option to create general notes
- Same layout as Set Screen except instead of subjects, it displays Topics
- Topic Screen
- Same layout as Set Screen except instead of subjects, it displays Sub-Topics
- Each Sub-Topic leads to an individual Sub-Topic page
- Gives an option to create general notes
- Same layout as Set Screen except instead of subjects, it displays Sub-Topics
- Sub-Topic Screen
- Back arrow in the top left
- Displays site title in the top left (to the right of the back arrow)
- Displays Created notes in the middle
- Gives an option to create more notes like a text editor
- Gives an option to create cards on the top right